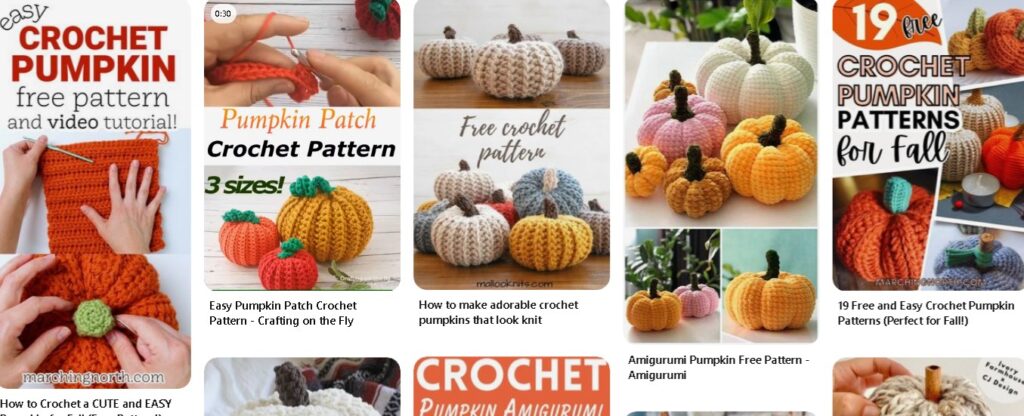
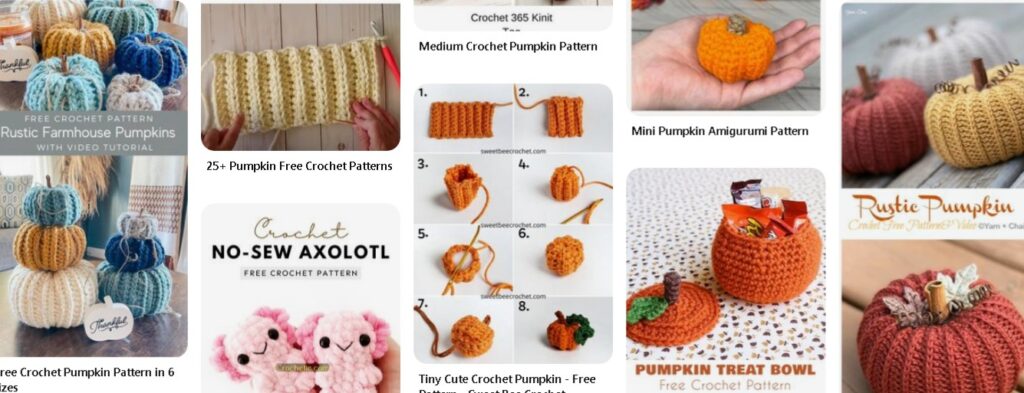
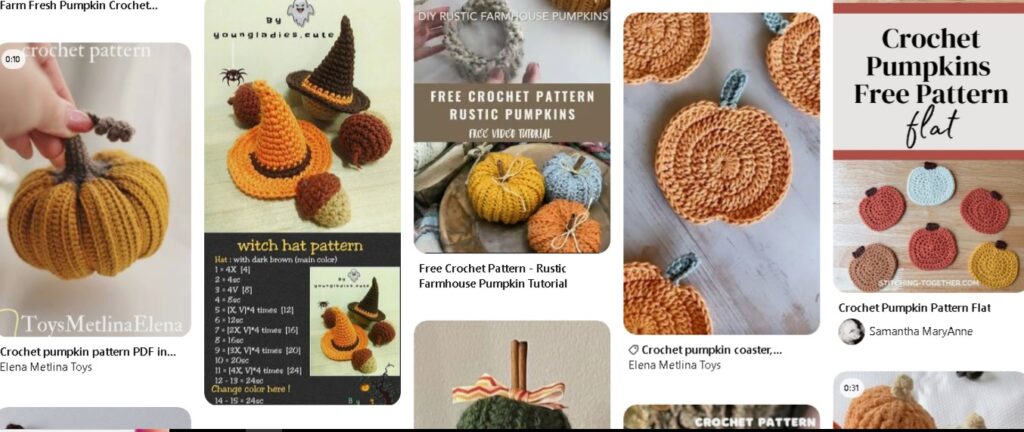
Crochet Pumpkins Free Pattern Easy: A Guide to Creating Adorable Fall Décor
As the leaves start to change color and the crisp autumn air sets in, perfect time to add a touch of fall to your home with handmade decor. One of the easiest and cutest ways to do this is by crocheting pumpkins. These small, cozy creations can be used to decorate tables, and mantels, or even as gifts for friends and family. In this guide, we’ll provide you with a Crochet Pumpkins Free Pattern Easy that’s perfect for beginners, along with helpful tips to make the process simple and enjoyable.

Why Crochet Pumpkins?
Crochet pumpkins are not only adorable but also versatile. They can be made in various sizes, colors, and textures to suit your style and décor. Additionally, these pumpkins are perfect for seasonal décor, bringing the cozy vibes of fall into your home. Unlike real pumpkins, they last year after year, so a great long-term investment in your seasonal decorations.
Some of the key benefits of crocheting pumpkins include:
- Customizable size and colors: You can make pumpkins that match your home décor or play around with different fall colors like orange, white, yellow, and even green.
- Eco-friendly décor: Instead of buying plastic or synthetic pumpkins, crochet pumpkins are made from yarn, which is an eco-friendly option.
- Perfect for gifting: Handmade crochet pumpkins or housewarming parties, fall celebrations, or Thanksgiving.
Now, let’s dive into the free and easy crochet pumpkin pattern.
Materials You Will Need
Before you start crocheting your pumpkin, gather the following materials:
- Yarn: You can use yarn for your crochet pumpkin, but we recommend using worsted-weight yarn for a classic, cozy look. Choose colors like orange, white, or neutral tones for a modern twist.
- Crochet hook: A 4.0mm or 5.0mm crochet hook is ideal for creating a medium-sized pumpkin.
- Polyfill stuffing: This will be used to stuff your pumpkin and give it a plush, puffy shape.
- Yarn needle: To sew the pumpkin together and add finishing touches.
- Scissors: To cut your yarn and trim loose ends.
- Stitch marker (optional): Helps to keep track of your rounds when working in continuous circles.
Easy Crochet Pumpkin Pattern
Here’s a simple crochet pumpkin pattern that even beginners can follow. It uses basic stitches, and to whip up your pumpkin in no time!
Abbreviations:
- ch: chain
- sc: single crochet
- inc: increase (2 sc in the same stitch)
- dec: decrease (single crochet 2 stitches together)
Step 1: Starting the Pumpkin
- Create a magic circle (or ch 2 and crochet into the second chain from the hook).
- Round 1: Crochet 6 sc into the magic circle, then pull tight to close. (6 sts)
- Round 2: Increase in each stitch around. Crochet 2 sc in each stitch. (12 sts)
- Round 3: 1 sc, inc around. (18 sts)
- Round 4: 2 sc, inc around. (24 sts)
- Round 5: 3 sc, inc around. (30 sts)
- Round 6: 4 sc, inc around. (36 sts)

Step 2: Building the Pumpkin Body
- Rounds 7-11: Work 1 sc in each stitch around. (36 sts)
- You can add more rows here if you want a taller pumpkin, or stop here for a short and round pumpkin.
Step 3: Shaping the Top of the Pumpkin
- Round 12: 4 sc, dec around. (30 sts)
- Round 13: 3 sc, dec around. (24 sts)
- Round 14: 2 sc, dec around. (18 sts)
- Round 15: 1 sc, dec around. (12 sts)
- Round 16: dec around. (6 sts)
Step 4: Stuffing and Finishing
- After round 16, stuff the pumpkin with polyfill. Make sure it’s firm, but not overstuffed.
- Weave your yarn needle through the remaining 6 stitches and pull tight to close the hole.
- Fasten off the yarn and weave in the ends.
Step 5: Adding the Stem
- For the pumpkin stem, you can either crochet a small green stem or use a real twig for a rustic look.
- If crocheting, make a small chain of 6 stitches turn, and sc into each stitch. Attach the stem to the top of the pumpkin by sewing it in place.
You May Also Like: Key-elements-harajuku-dress-to-impress
Optional: Pumpkin Ridges
If you want to add extra texture to your pumpkin, you can create ridges:
- Use a long piece of yarn (the same color as the pumpkin or a contrasting one) and wrap it around the sides of the pumpkin several times.
- Pull the yarn tight after each wrap to create an indented ridge. This gives the pumpkin a more realistic look.
Essential Information:
Customizing Your Crochet Pumpkins
One of the best things about crocheting pumpkins is how customizable they are. Here are a few ways you can personalize your pumpkins:
- Colors: Traditional orange is always a great choice, but don’t be afraid to experiment with other fall colors. White, gray, mustard and even teal pumpkins can give your décor a modern, stylish twist.
- Size: For a larger pumpkin, use a thicker yarn and a larger crochet hook. Conversely, for smaller pumpkins, opt for thinner yarn and a smaller hook.
- Stems: Instead of crocheting stems, use natural materials like twigs or cinnamon sticks for an extra rustic touch.
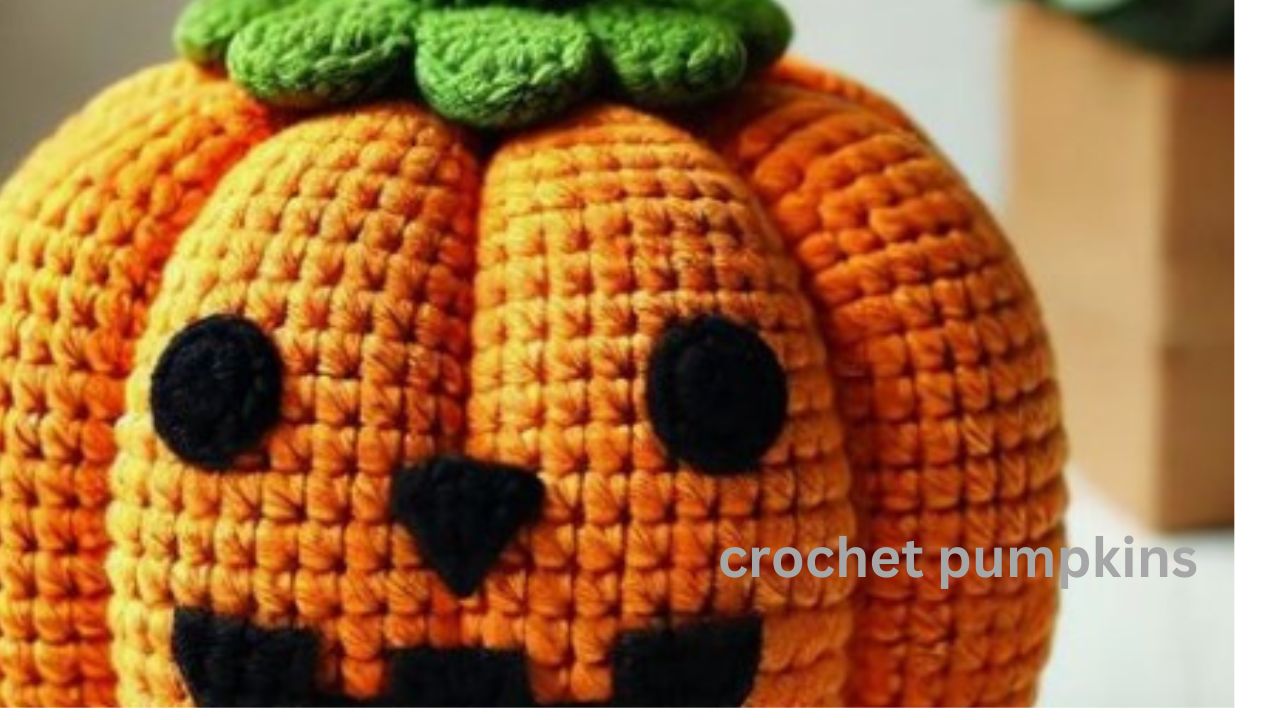
- Embellishments: Add buttons, beads, or small bows to your pumpkins to give them a whimsical look. You can also embroider faces on them for a fun, Halloween-themed pumpkin.
Where to Use Your Crochet Pumpkins
Once you’ve finished making your crochet pumpkins, the possibilities for using them are endless! Here are a few ideas for how to incorporate them into your fall décor:
- Table centerpieces: Place a group of crochet pumpkins of various sizes in the center of your dining or coffee table.
- Mantel displays: Pair your pumpkins with candles, autumn leaves, and other fall decorations to create a cozy mantel display.
- Gift them: Crochet pumpkins make thoughtful and personal gifts, especially if you’re visiting friends or family for Thanksgiving.
- Fall photo props: Use pumpkins in your fall-themed photos or social media posts.
- Wreaths: Attach small crochet pumpkins to a grapevine wreath for a unique fall door decoration.
Tips for Beginners
If you’re new to crocheting or want to ensure your pumpkins turn out just right, here are some helpful tips:
- Practice with basic stitches before starting the project, especially if you’re new to crocheting in the round.
- Use stitch markers to keep track of your rounds, especially as the pumpkin grows.
- Don’t overstuff your pumpkin, as this can cause the stitches to stretch too much and distort the shape.
- Take your time: Crocheting should be a relaxing activity, so don’t rush the process.

Conclusion
Crocheting pumpkins is a simple and fun way to add a handmade touch to your fall décor. This free crochet pumpkin pattern is perfect for beginners and can be easily customized to suit your style. Whether making pumpkins for yourself or giving them as gifts, these adorable creations will be a cozy addition to any home. So grab your yarn and hook, and start crocheting your pumpkins today!
Read You Have To Know: Cherry-blossom-dress-to-impress
FAQs
How difficult is it to crochet a pumpkin for beginners?
Crocheting a pumpkin is quite beginner-friendly. The pattern primarily uses stitches like single crochet (sc) and increases or decreases. If you are familiar with working in the round, you’ll find this project easy to complete. It’s a great way for beginners to practice crochet techniques and make a fun fall decoration.
What materials do I need to crochet a pumpkin?
To crochet a pumpkin, you’ll need worsted-weight yarn, a crochet hook (typically 4.0mm or 5.0mm), polyfill stuffing to fill the pumpkin, a yarn needle for sewing, and scissors. You can also use a real twig or crochet a small stem for the top of the pumpkin.
Can I customize the size and color of my crochet pumpkins?
Yes! You can easily customize your crochet pumpkins by adjusting the yarn thickness and hook size. To make larger pumpkins, use bulkier yarn and a larger hook, while for smaller pumpkins, use thinner yarn and a smaller hook. You can also experiment with different colors to match your fall décor or personal preferences.
How long does it take to crochet a pumpkin?
The time it takes to crochet a pumpkin depends on your experience and the size of the pumpkin. Generally, it can take anywhere from 1 to 2 hours for a beginner to finish a medium-sized pumpkin. As you become more familiar with the pattern, complete them even faster.
Where can I use my crochet pumpkins for fall décor?
Crochet pumpkins are versatile and can be used in many ways for fall décor. You can place them on your mantel, use them as table centerpieces, incorporate them into wreaths, or even gift them to friends. They add a cozy, handmade touch to any autumn display.
